Set up and use the Destiny Back Office app
The Destiny Back Office app lets you access circulation and administration features away from your desk. Use the app on your Follett Destiny VersaScan device, or Android™ or iOS™ smartphone or tablet. With it, you can check an item in or out, check a patron's or item's status, conduct an inventory, or make a transfer.
The Destiny Back Office app requires Destiny version 19.3 or later, and either Android version 8.0 or iOS version 15.5 or later.
Set up the app
You must set up the app to connect to your district or school. If your district supports SSO (Single Sign-On), you can use it to log in.
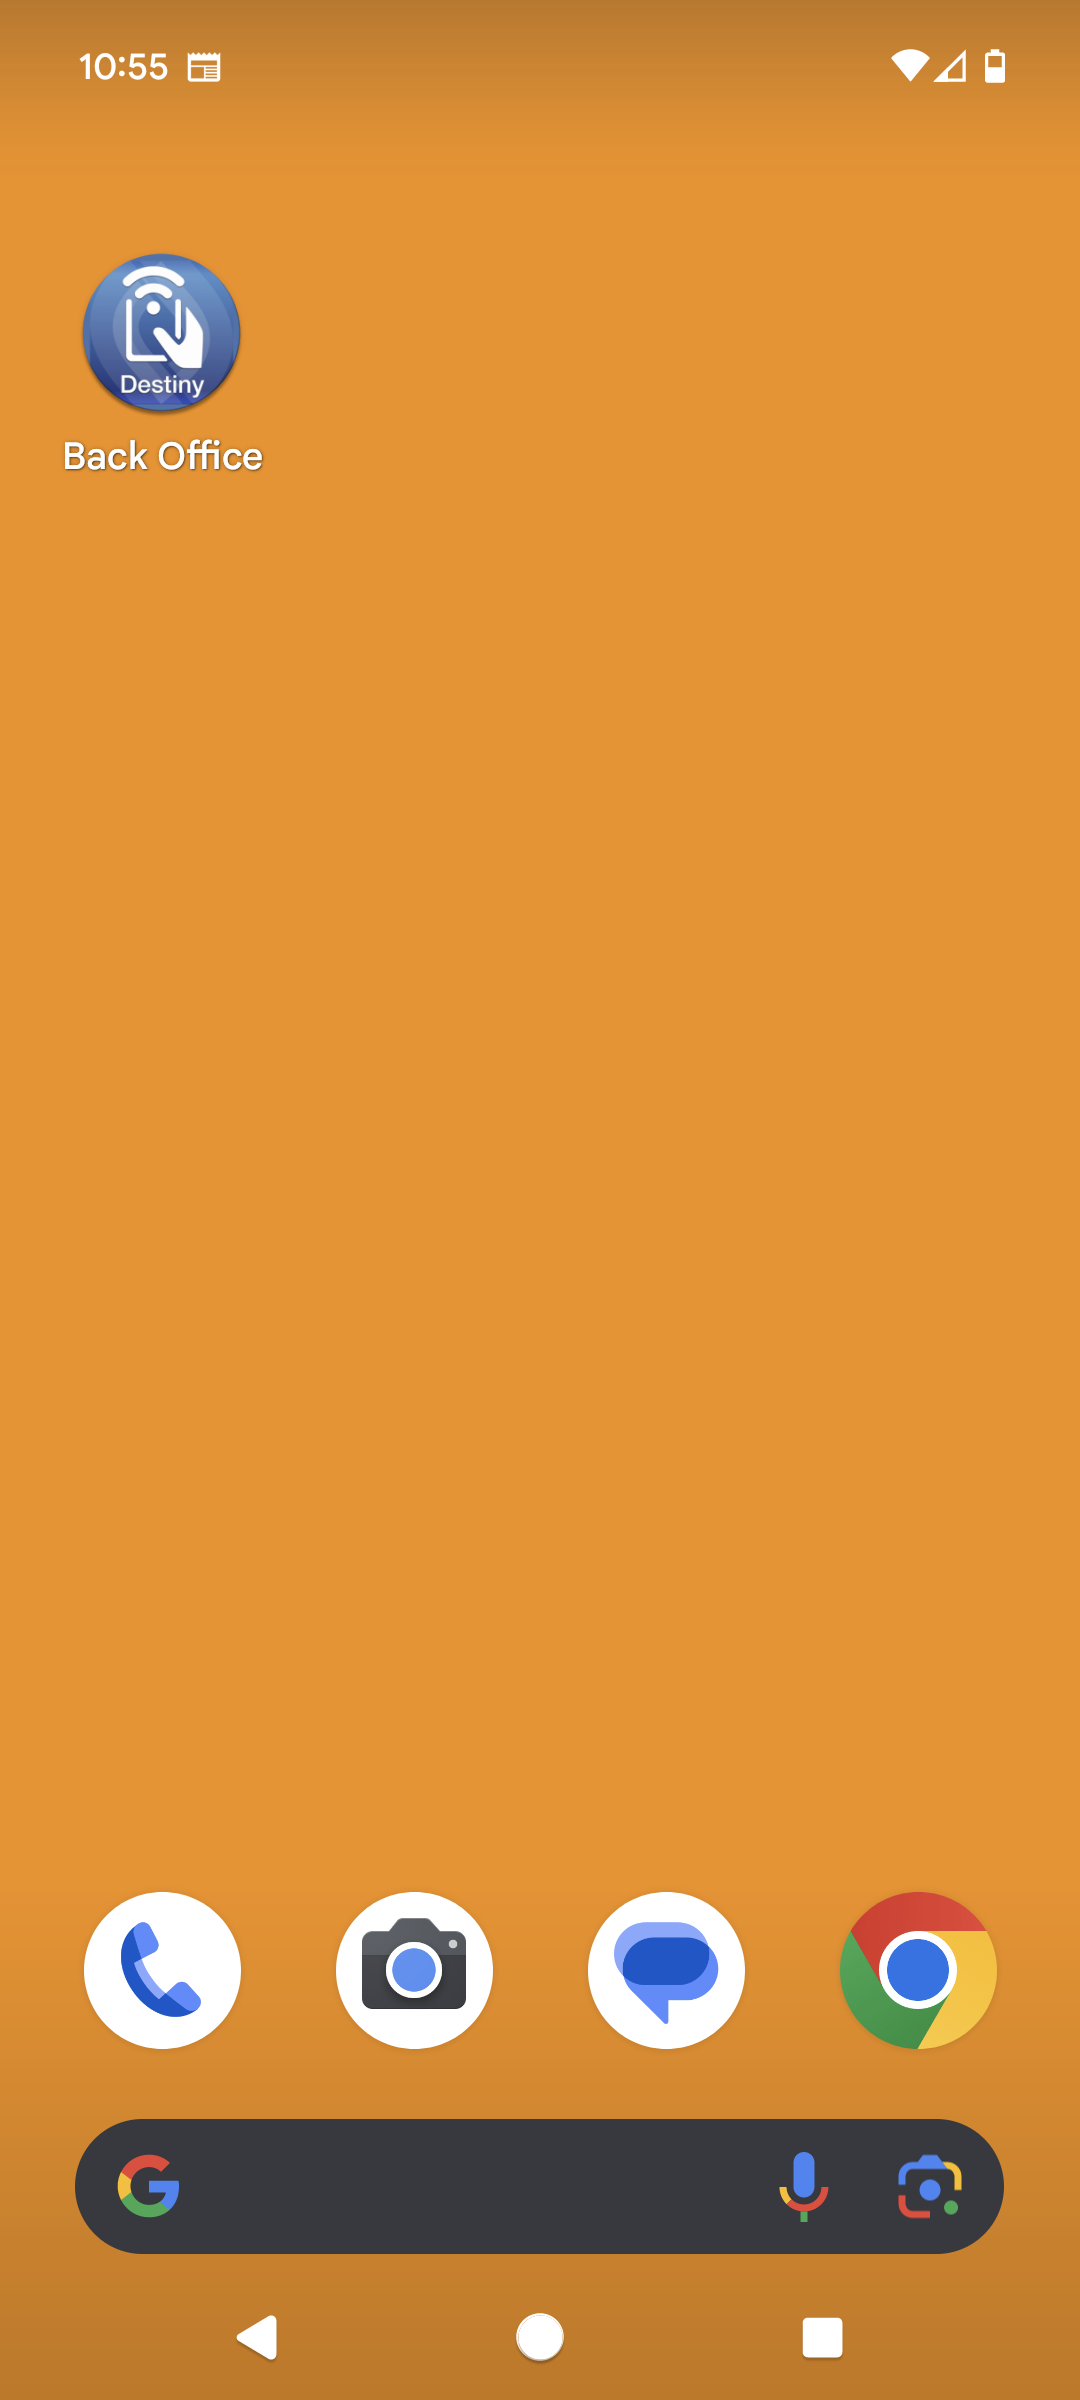
- Tap to open the Destiny Back Office app.
- Under Let's Find Your School, do the following:
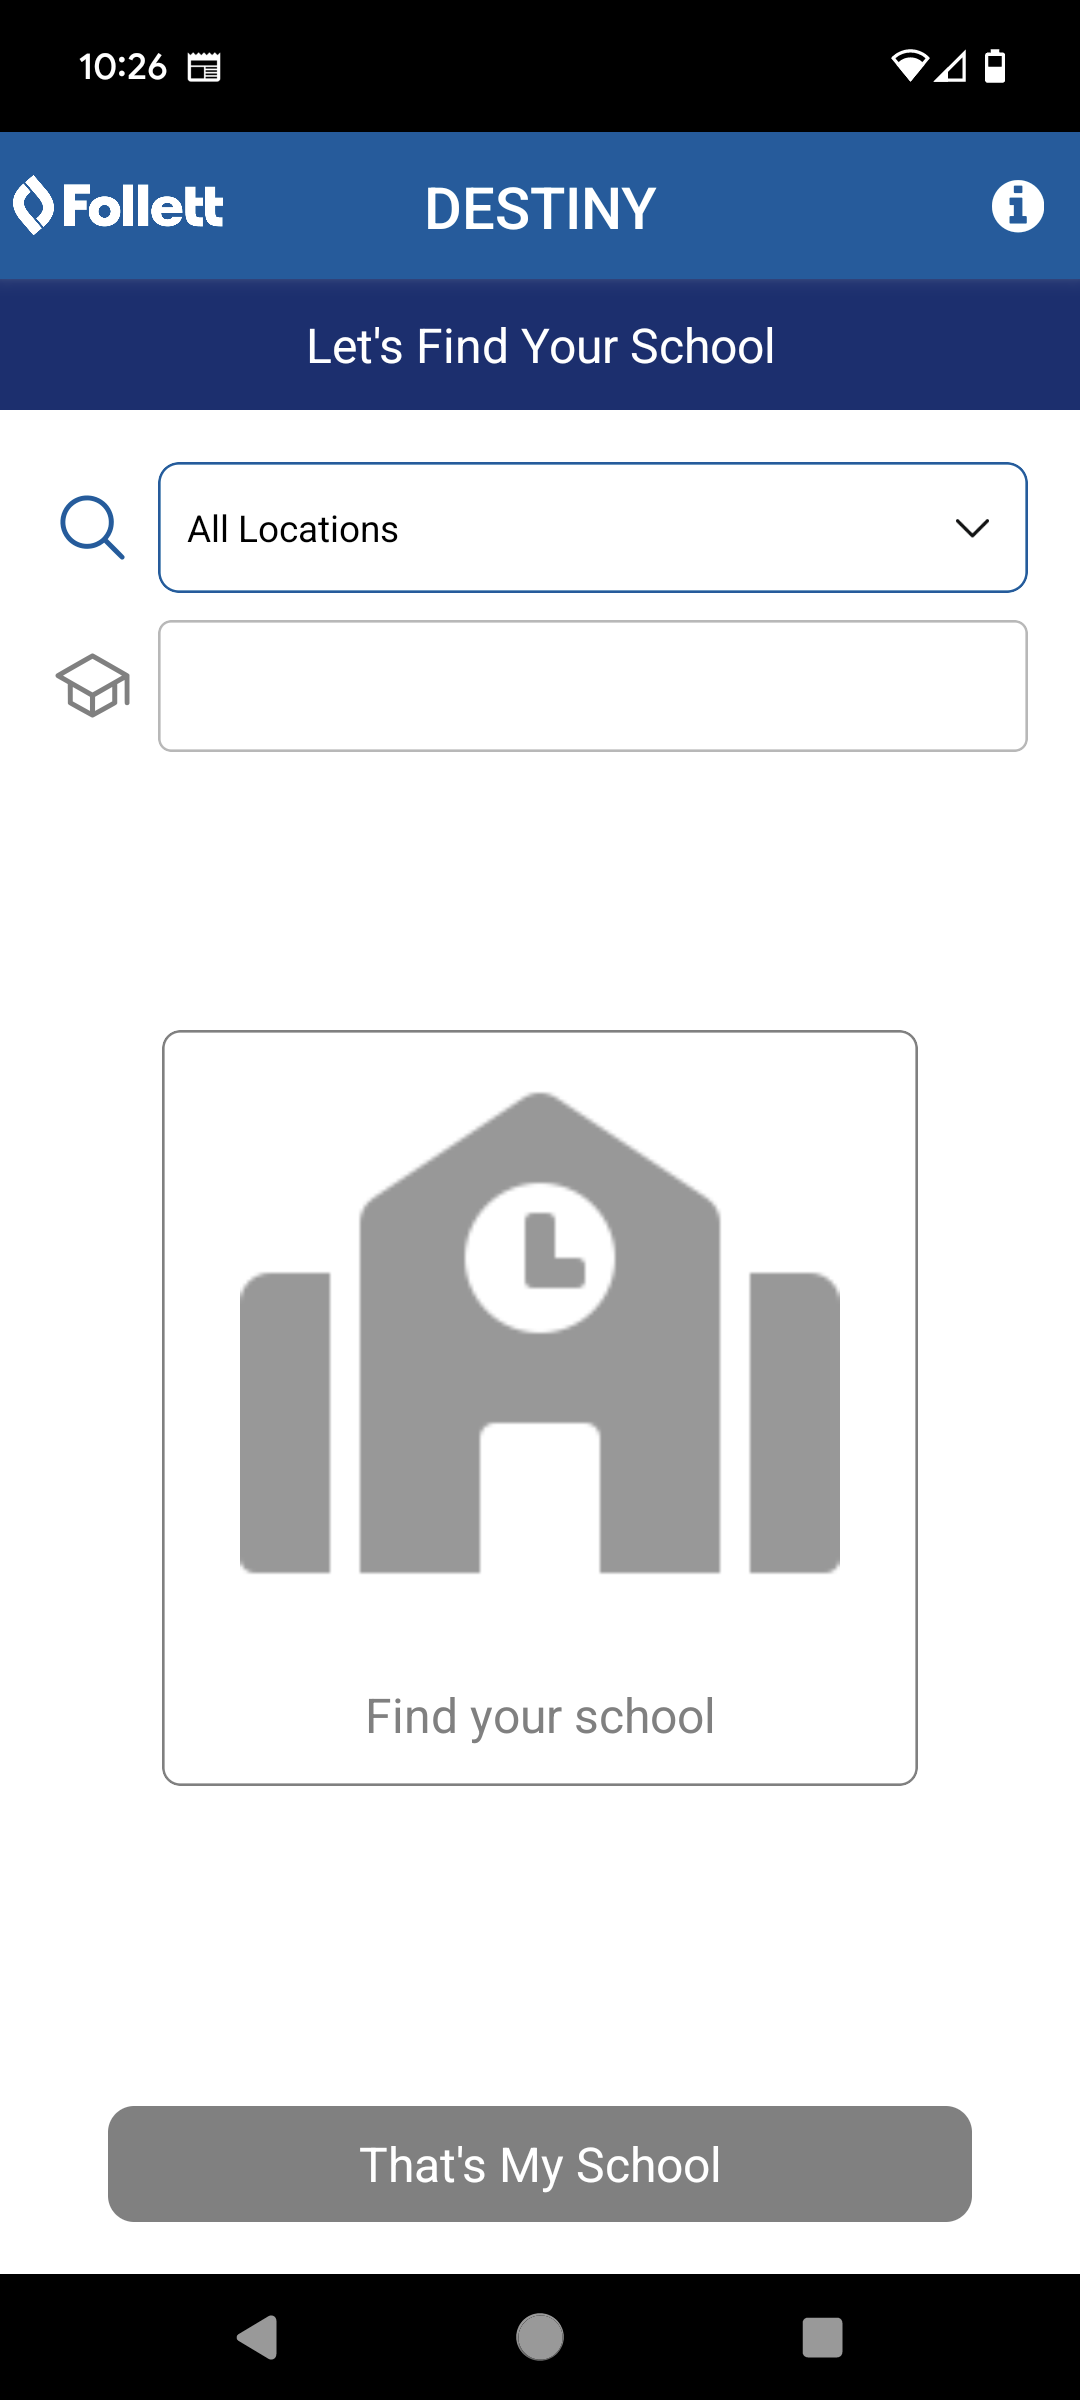
- Choose your location from the drop-down.
- Start typing your school's name, and then select it from the list.
- Tap That's My School.
- Enter your Destiny username and password.
- Tap Login.
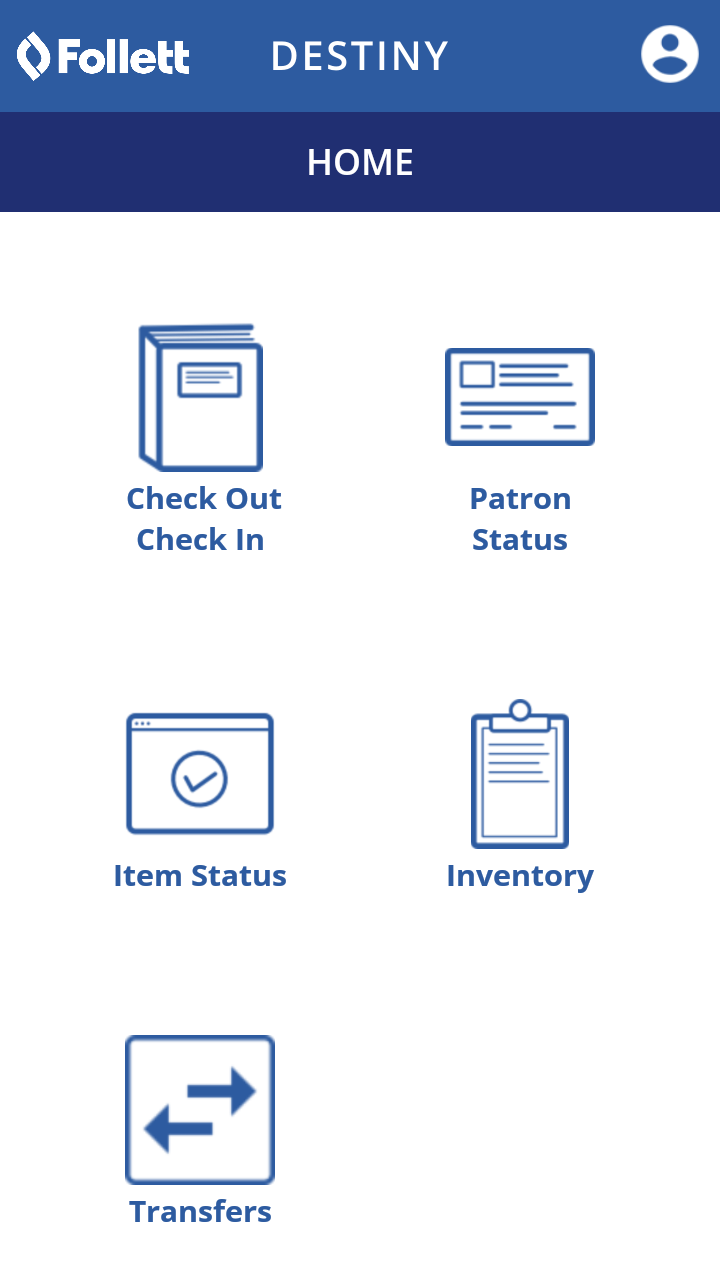
- On the app Home screen, tap the function you want to perform.
Perform functions
If you are associated with multiple sites in your district, you can change sites while logged in.
| Important: If your device is in dark mode, you will not see text or numbers entered in the fields. |
To change sites:
- On the HOME screen, tap
 in the top-right corner.
 - Tap CHANGE SITE.
- Tap the desired site. The new site now shows under Currently.
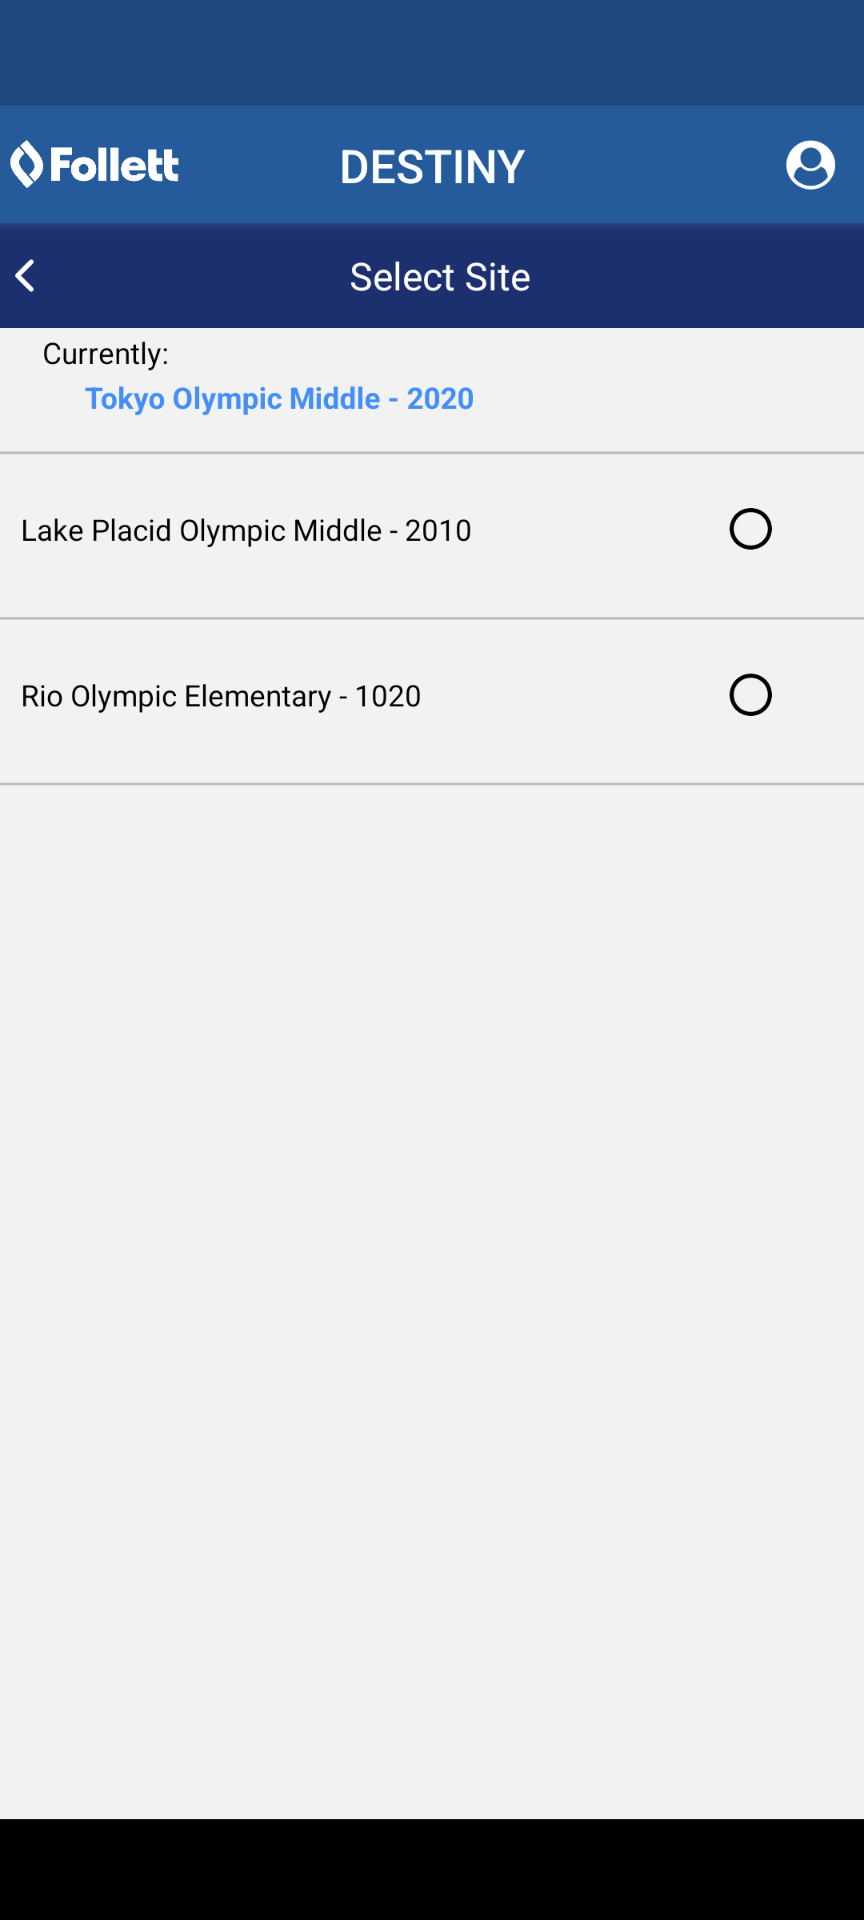
Notes: When switching sites, if you are already logged in, you do not have to log in again.
Check Out/Check In
You can circulate library materials or resources even when the device that runs your Destiny Back Office app does not have an online connection.
To check out library materials or resources:
- Tap Check Out Check In.
- On the bottom of the page, tap the Destiny product you are using: LIBRARY or RESOURCE, and then tap CHECK OUT.
- In the Find Patron field, scan or enter the patron’s barcode number.
Note: You can also enter the patron’s first or last name. If you enter the barcode number or type the name, tap GO.
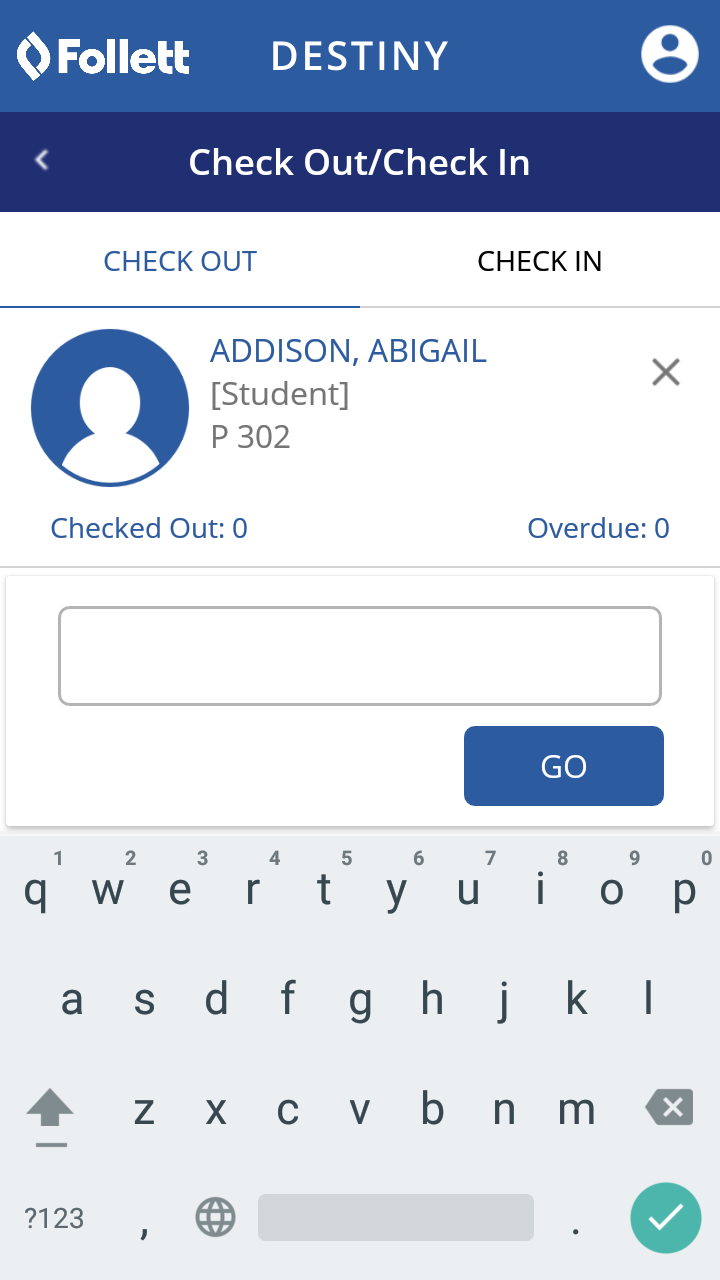
- In the Enter Barcode field, scan or type the barcode number of the item you are checking out. If you type the barcode number, tap GO.
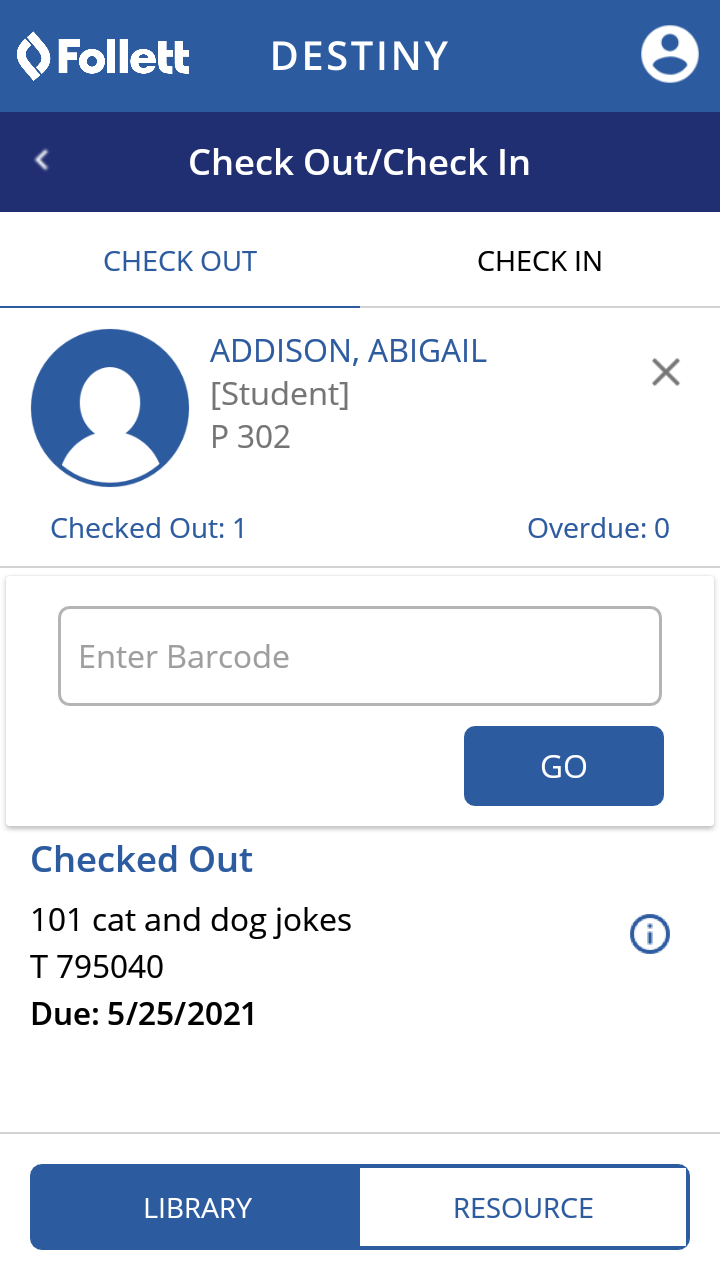
Note: If the scanned/typed barcode is not found, use the Follett Destiny Back Office app to add it to your inventory. - Continue to scan or type barcode numbers for all of the items the student is checking out.
-
To check out materials to another student, tap X next to the first student's name.
-
You can easily switch back and forth between check-in and checkout by swiping left or right, or tapping the applicable function.
|
Notes: |
To check in library materials or resources:
- Tap Check Out Check In.
- At the bottom of the page, tap the Destiny product you are using: LIBRARY or RESOURCE, and then tap CHECK IN.
- In the Enter Barcode field, scan or type the barcode number of the item you are checking in. If you type the barcode number, tap GO.
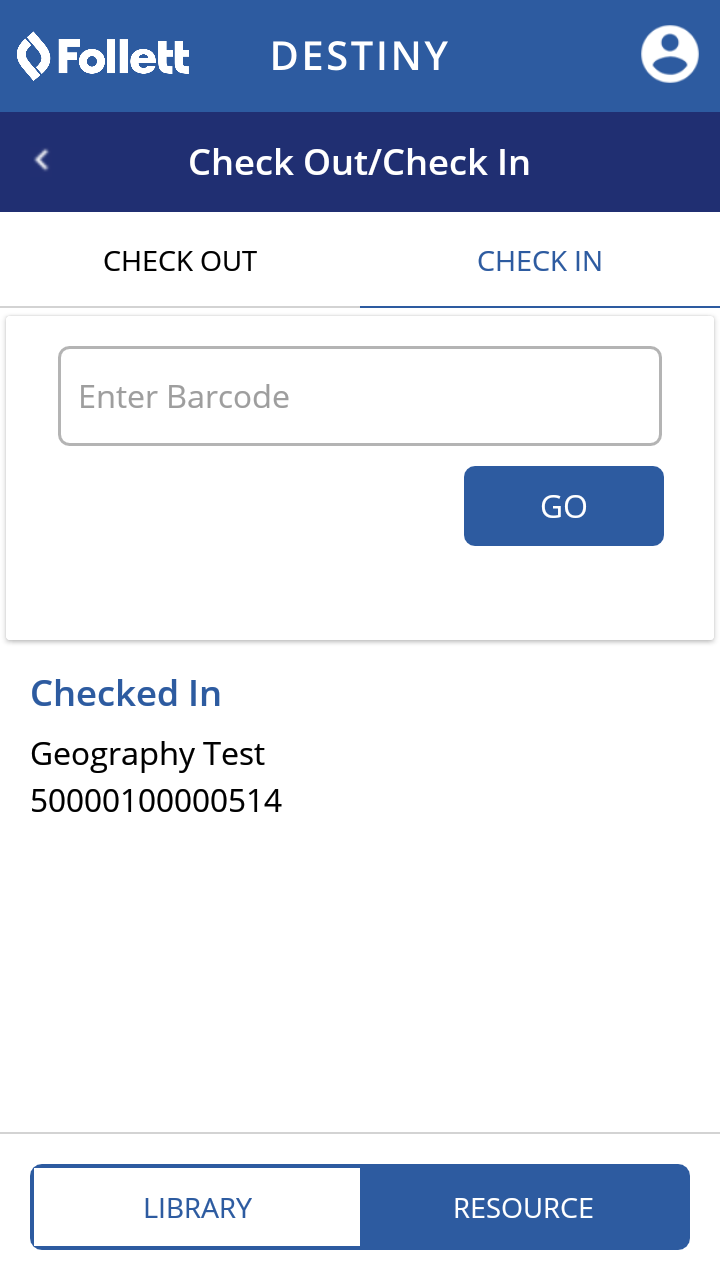
- Continue to scan or type barcode numbers for all of the items you are checking in.
View a patron's status
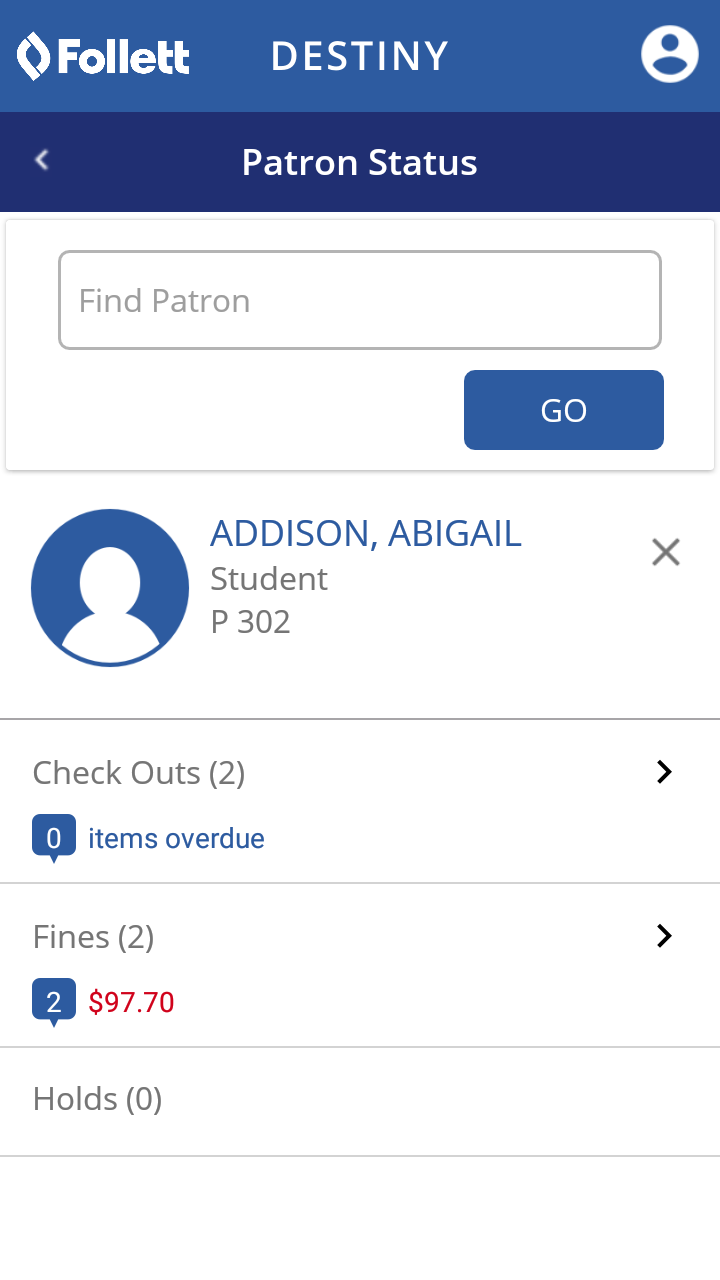
View information about a patron's checkouts, fines, and holds.
- Tap Patron Status.
- In the Find Patron field, enter a patron’s name or scan their barcode. If you enter the patron's name, tap GO.
- If a patron has at least one checkout, fine, or hold, tap > to view more detailed information.
View an item's status
Use Item Status to see information about library or resource items. You can view a library item's title, barcode, status, call number, and current checkouts.
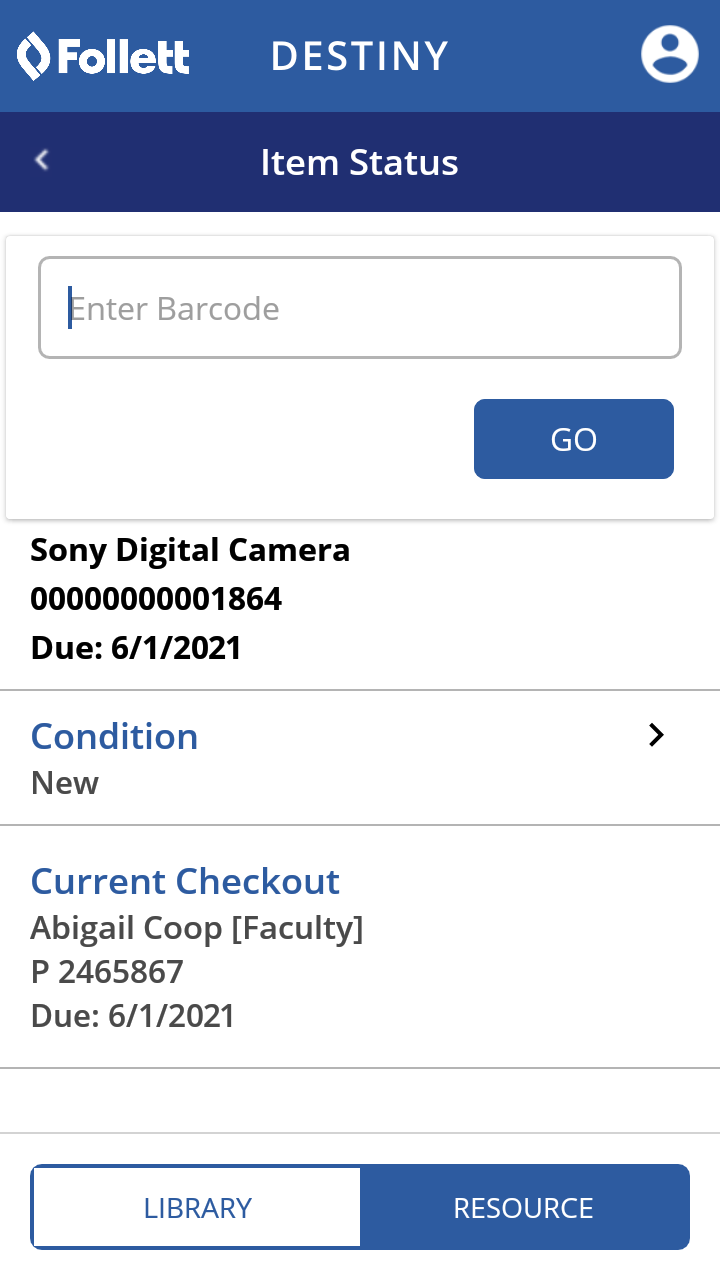
For each resource item, you can see its name, barcode, date marked lost or due date, condition, and checkout status. You can also change the condition of a resource in Item Status.
To view item status:
- Tap Item Status.
- At the bottom of the page, tap the Destiny product you are using: LIBRARY or RESOURCE.
- In the Enter Barcode field, type or scan a barcode. If you type the barcode number, tap GO.
- Do one of the following:
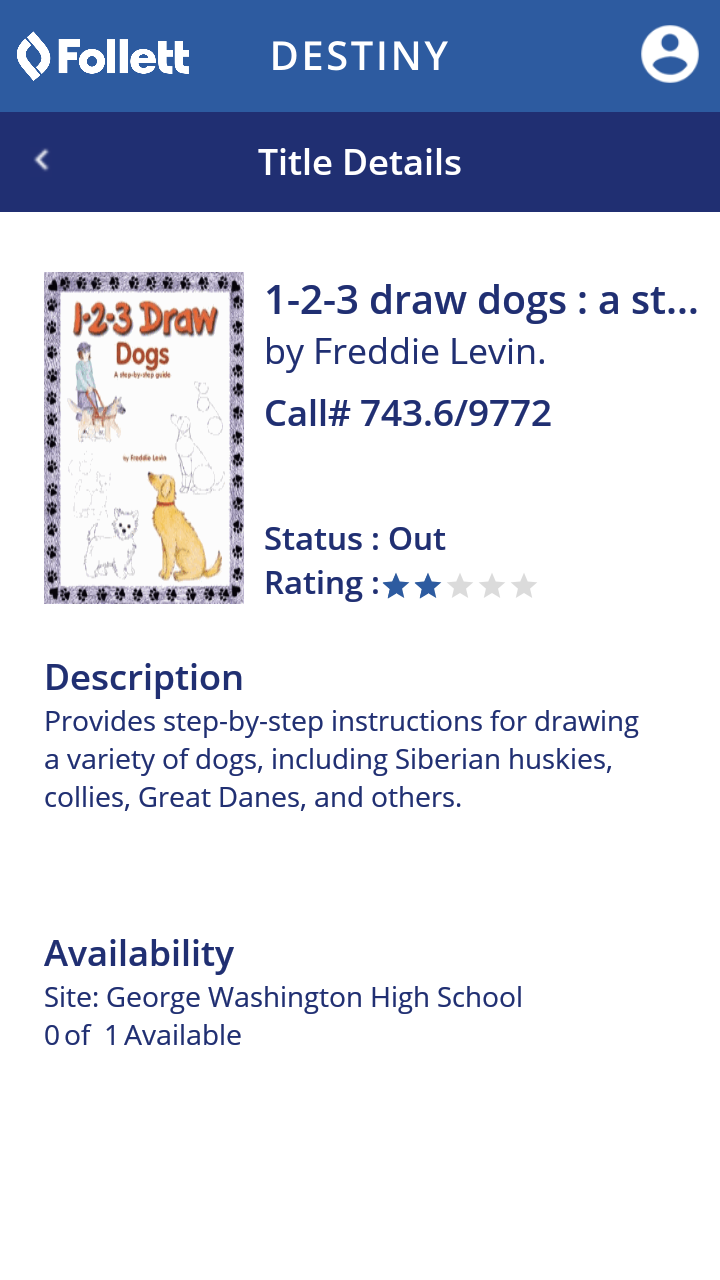
- For a library item, tap
 to see its Title Details.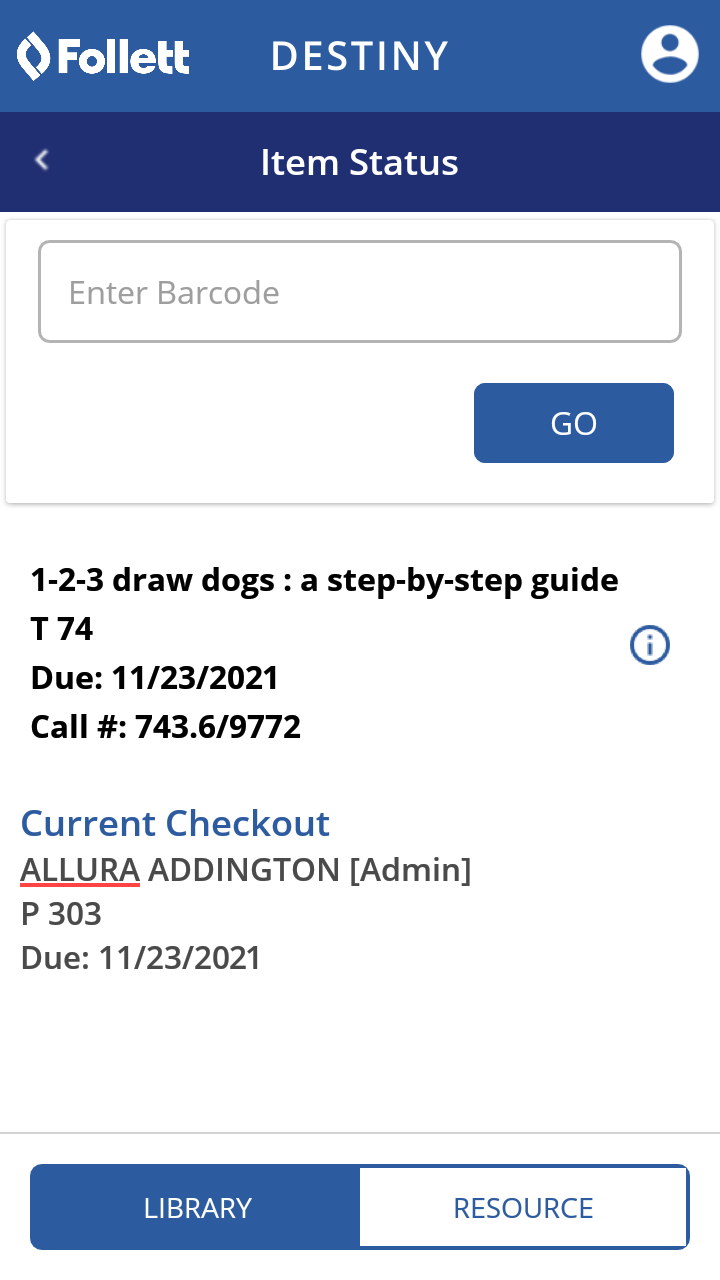
- For a resource item, view information about it.
- For a library item, tap
| Note: You can also access Item Status from Check Out/Check In, Inventory, and Patron Status. |
Inventory
The Destiny Back Office app gives you direct access to the Library Manager and Resource Manager inventory functions, as if you were accessing Destiny from a browser.
The app lets you track both accounted -or and unaccounted-for inventory lists. You can also conduct an inventory if the device that runs your Destiny Back Office app is not connected to the internet.
To start a new inventory:
- Tap Inventory.
- Tap the Destiny product you are using: LIBRARY or RESOURCE.
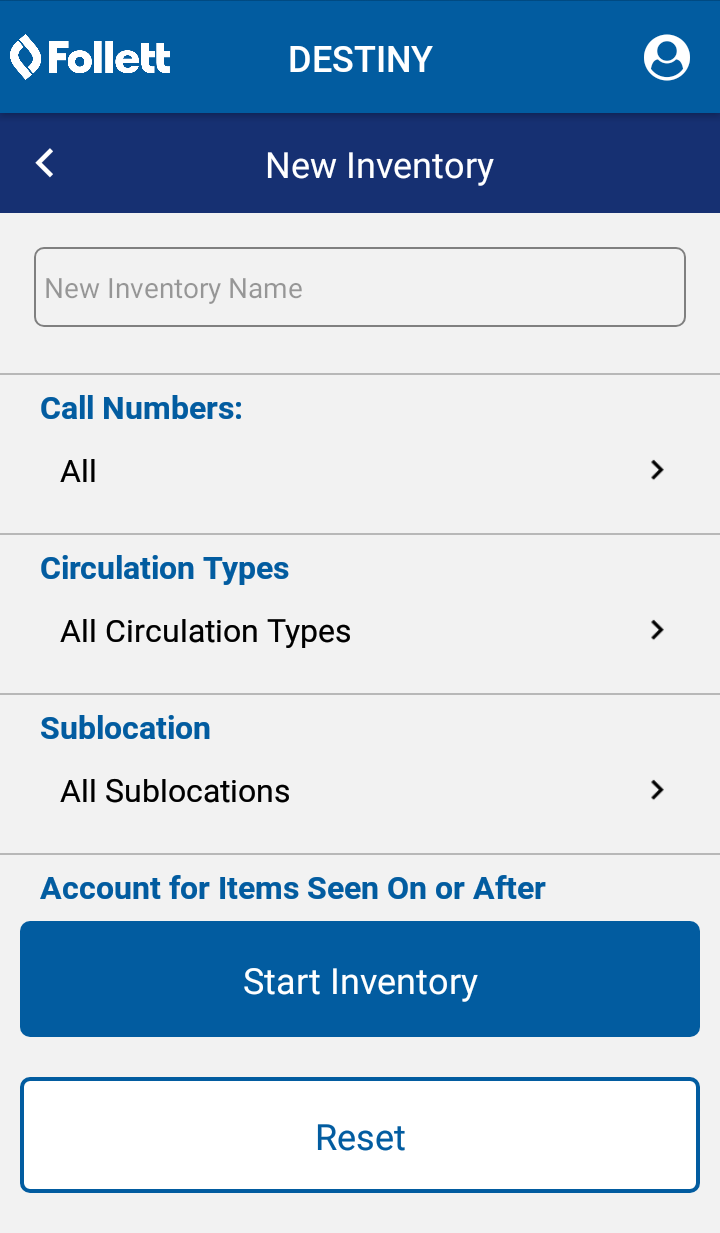
- Tap NEW INVENTORY.
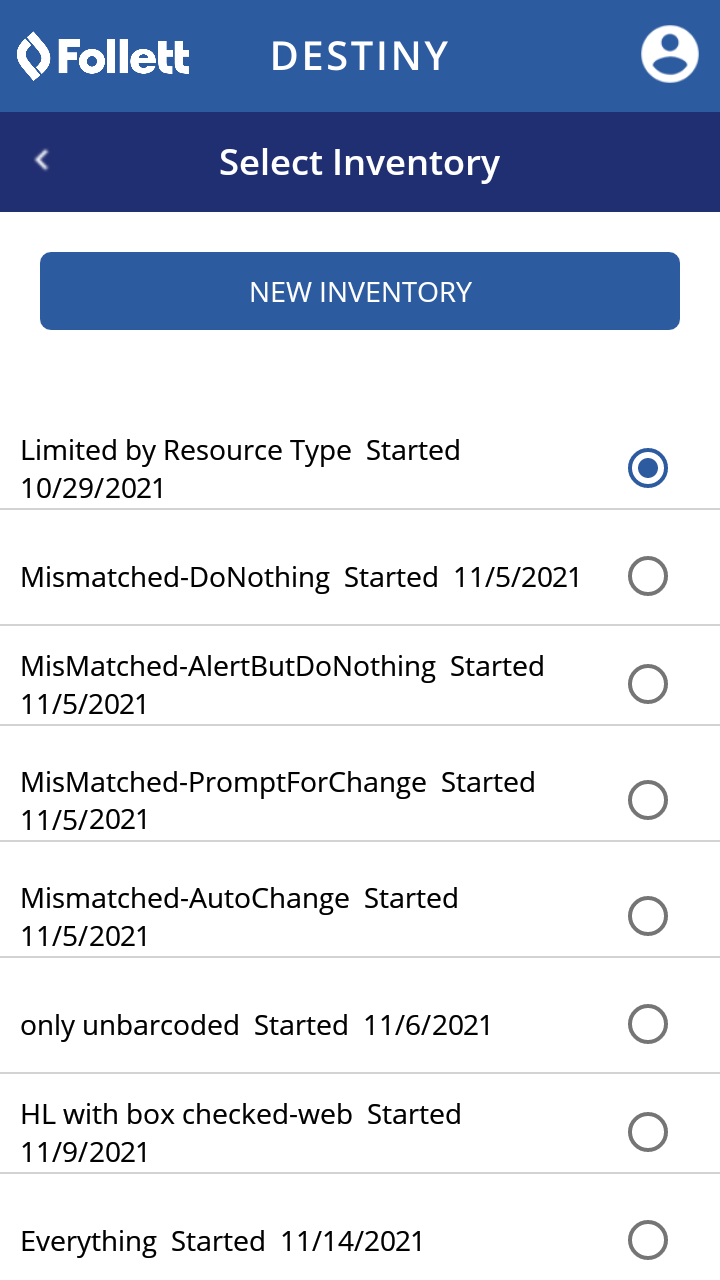
- Tap the New Inventory Name field, and enter a name.
- Select limiters that are applicable to your inventory.
Note: If you need to change a limiter, tap Reset.
- Tap Start Inventory.
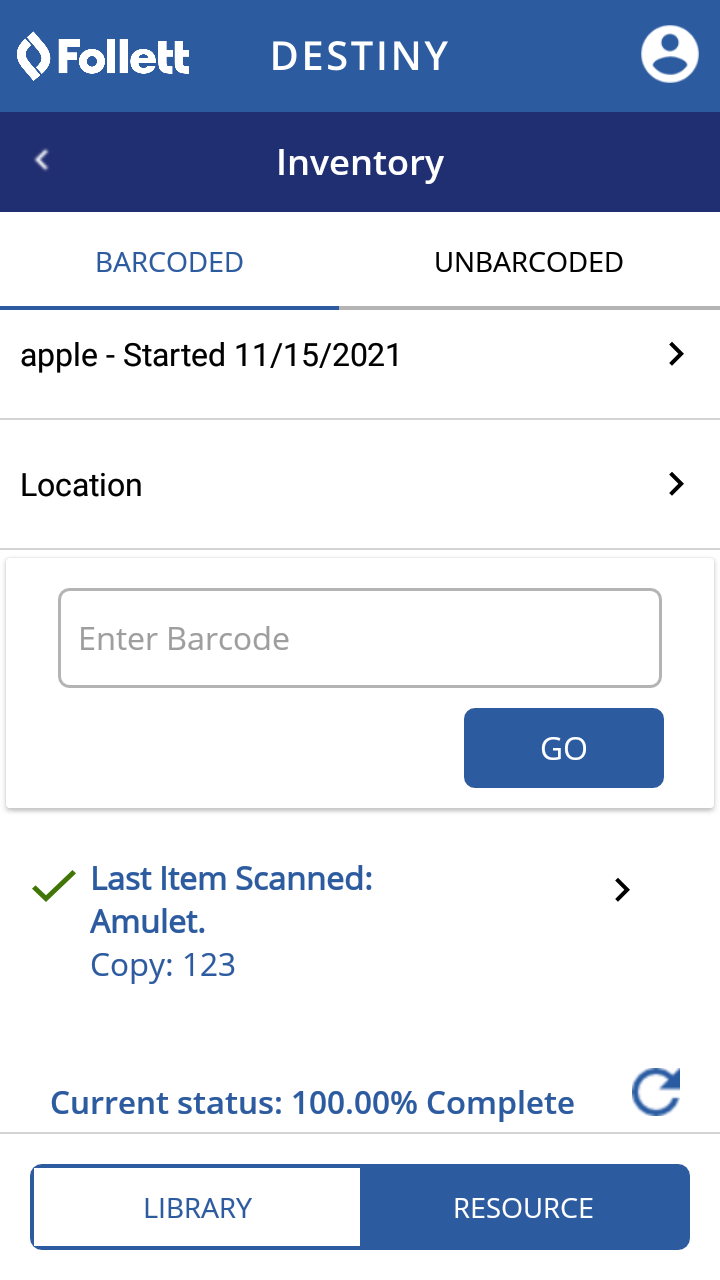
- In the Enter Barcode field, type or scan a barcode. If you type the barcode number, tap GO.
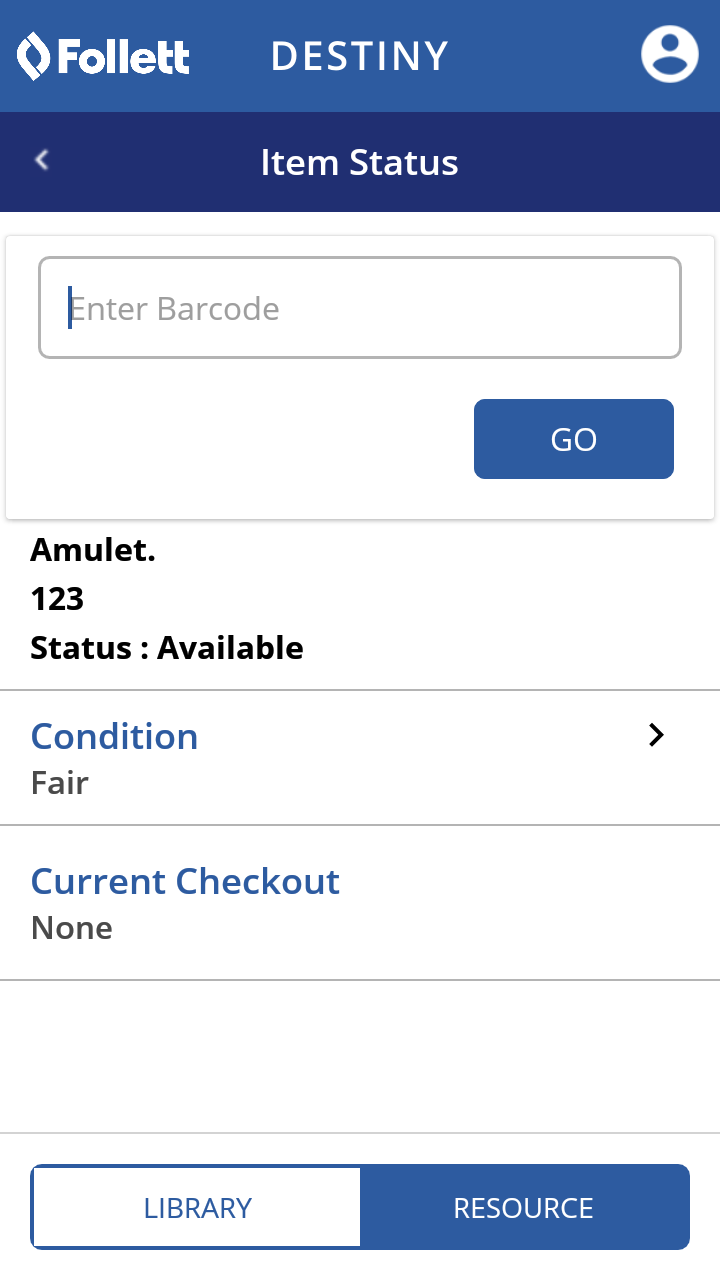
- To access more information on the item you scanned and view its item status from inventory, tap the inventory item.
The Item Status of the resource appears.
To view an in-progress inventory:
- Tap Inventory.
- Tap the Destiny product you are using: LIBRARY or RESOURCE.
- Tap the name of the inventory you want. If the inventory you want does not appear:
- Tap the name of the inventory that appears at the top of the screen, and then select the inventory you want to see.
- To return to the previous screen, tap <.
- Tap VIEW SELECTIONS to see how the inventory was limited.
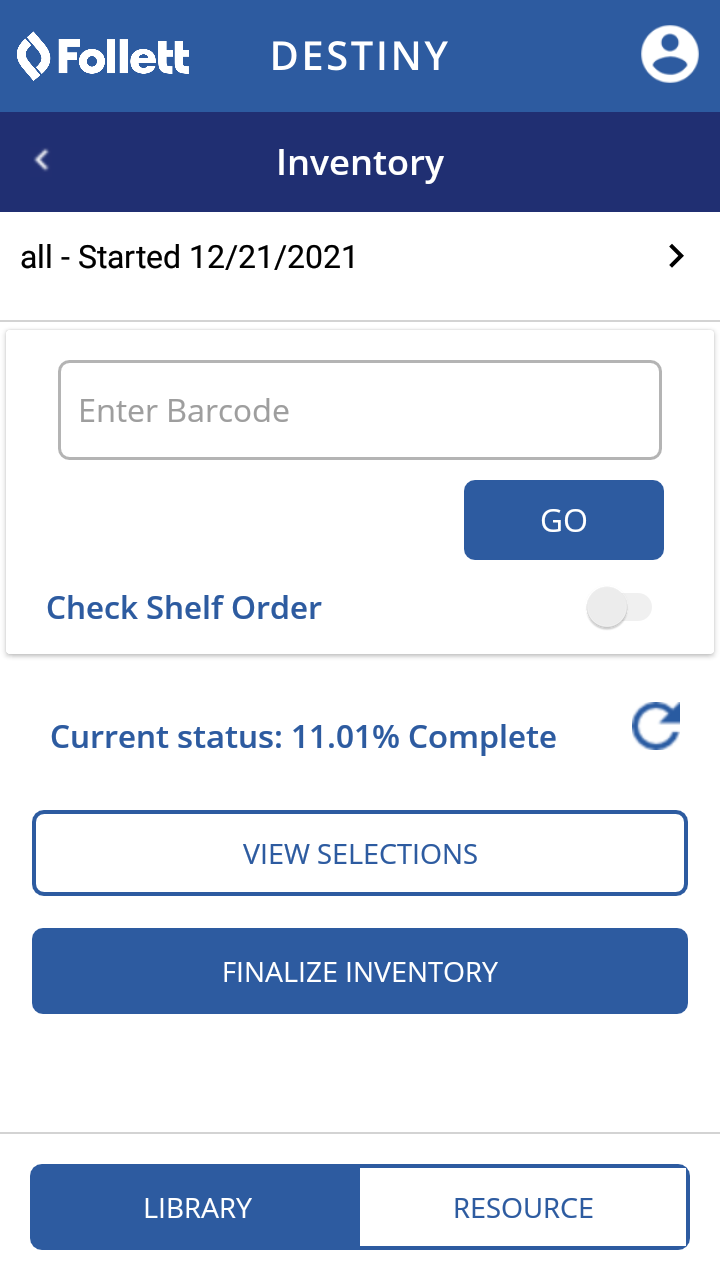
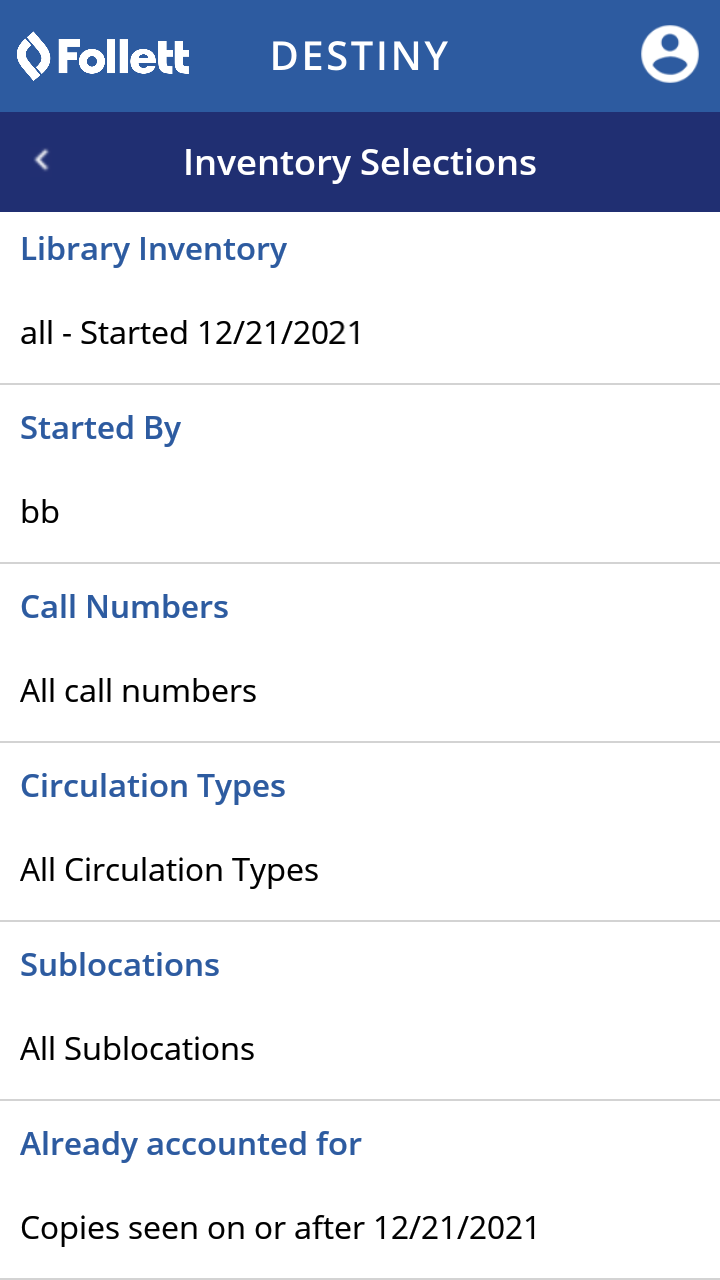
To continue an in-progress inventory:
- Tap Inventory.
- Tap the Destiny product you are using: LIBRARY or RESOURCE.
Note: When you are conducting a resource inventory, you can include both barcoded and unbarcoded items from your collection.
- If the inventory you want does not appear, tap the name of the last inventory taken at the top of the screen, and then select the inventory you want to continue.
- Do one of the following:
- Conduct a library inventory:
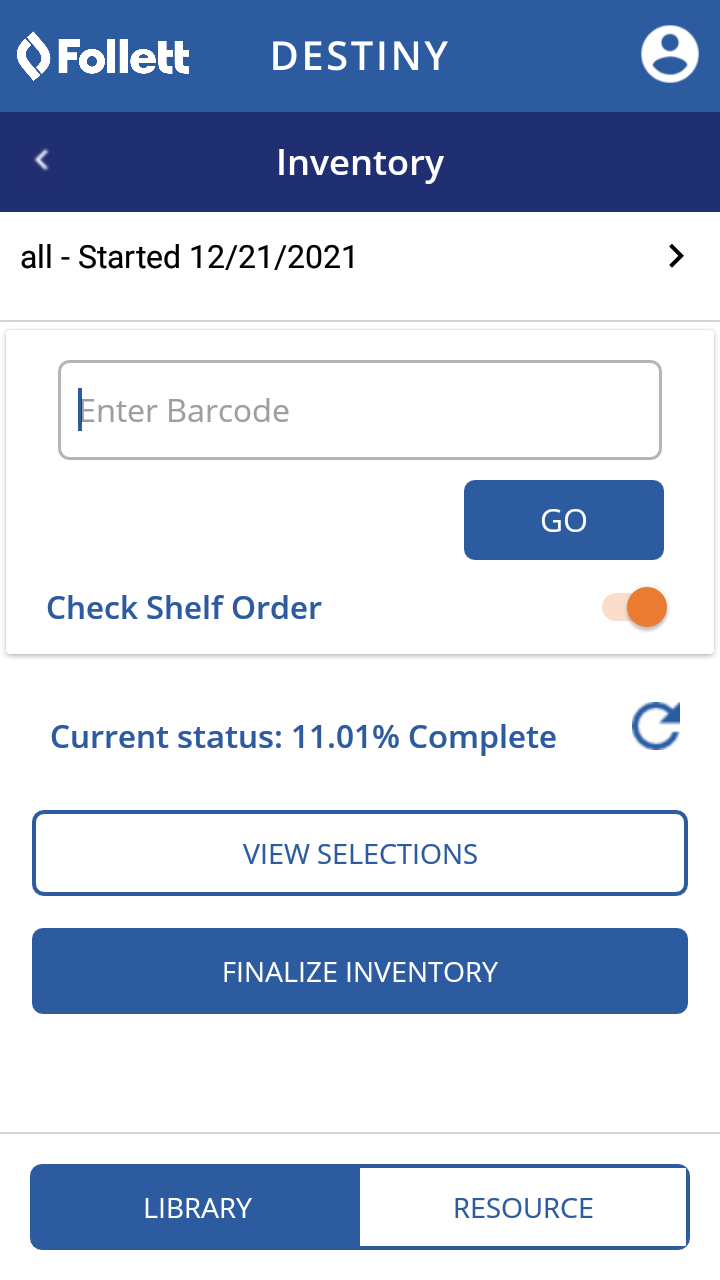
- Tap the Check Shelf Order toggle to ensure all titles are in sequence, and in the correct location.
- In the Barcode field, enter or scan a barcode. If you type the barcode number, tap GO.
- Conduct a resource inventory:
- Tap Location, and select an area the resource is associated with.
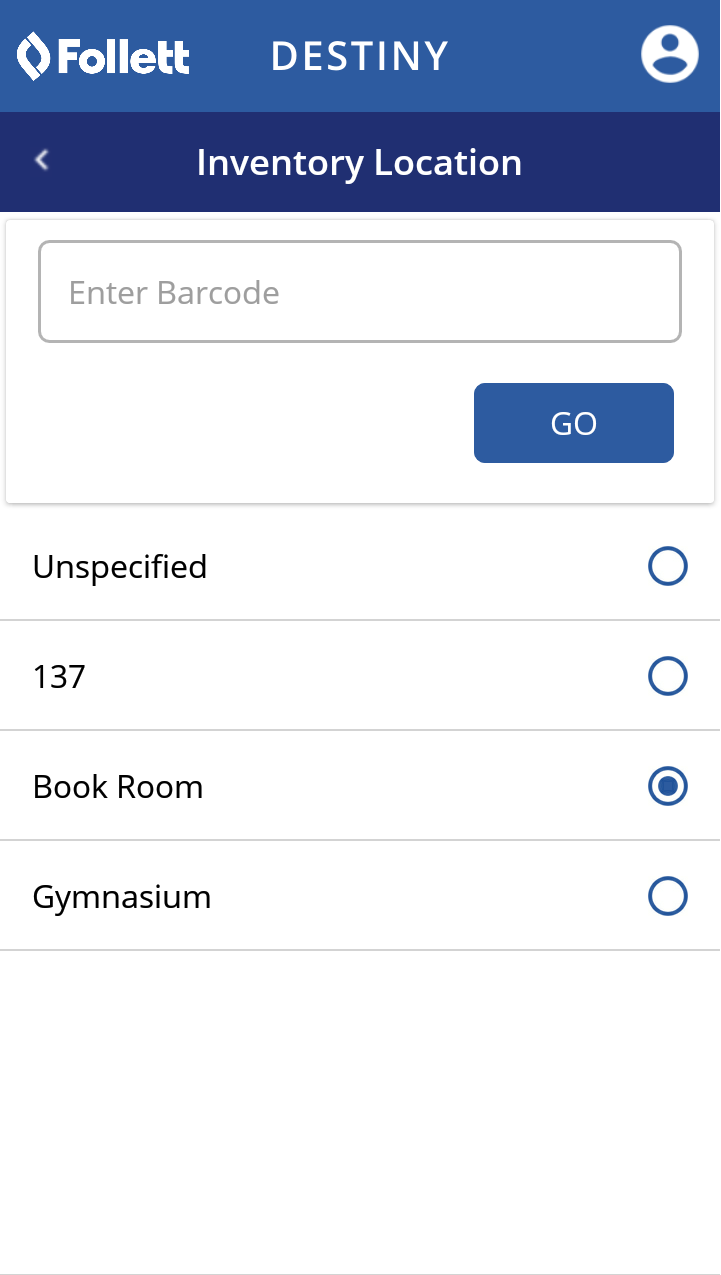
- Tap <.
- For barcoded resources, tap BARCODED. In the Barcode field, enter or scan a barcode. If you type the barcode number, tap GO.
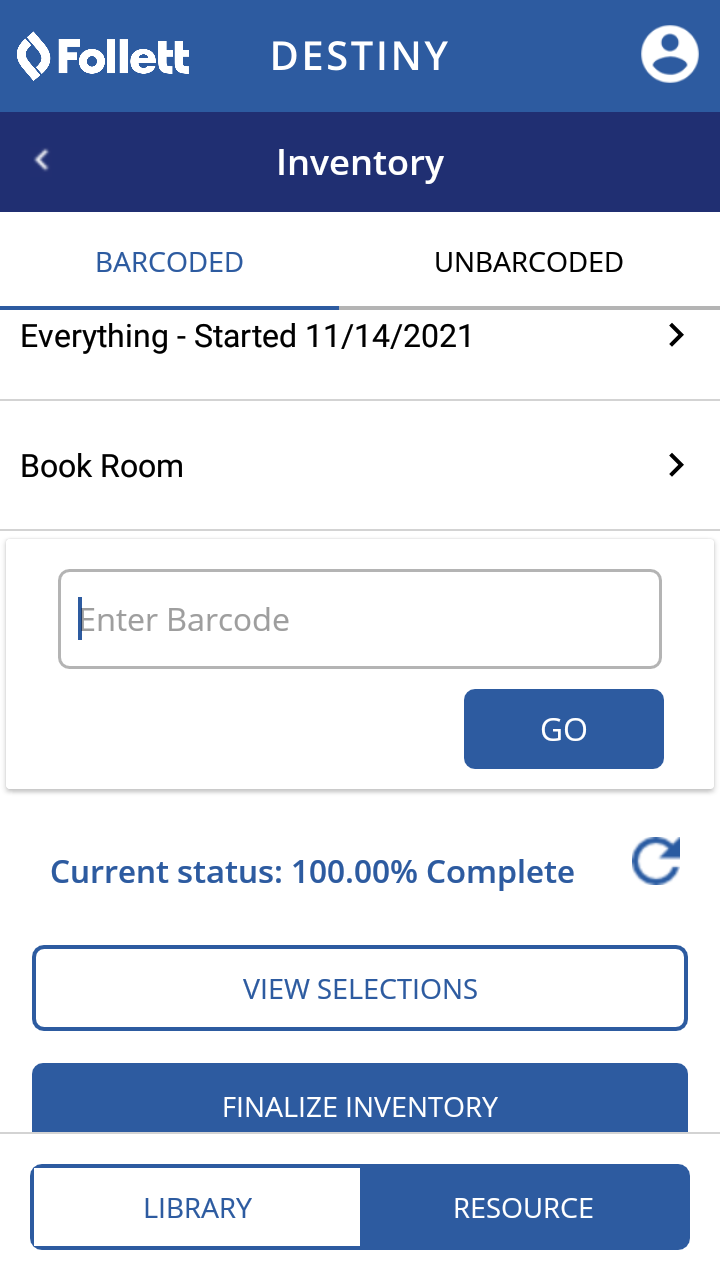
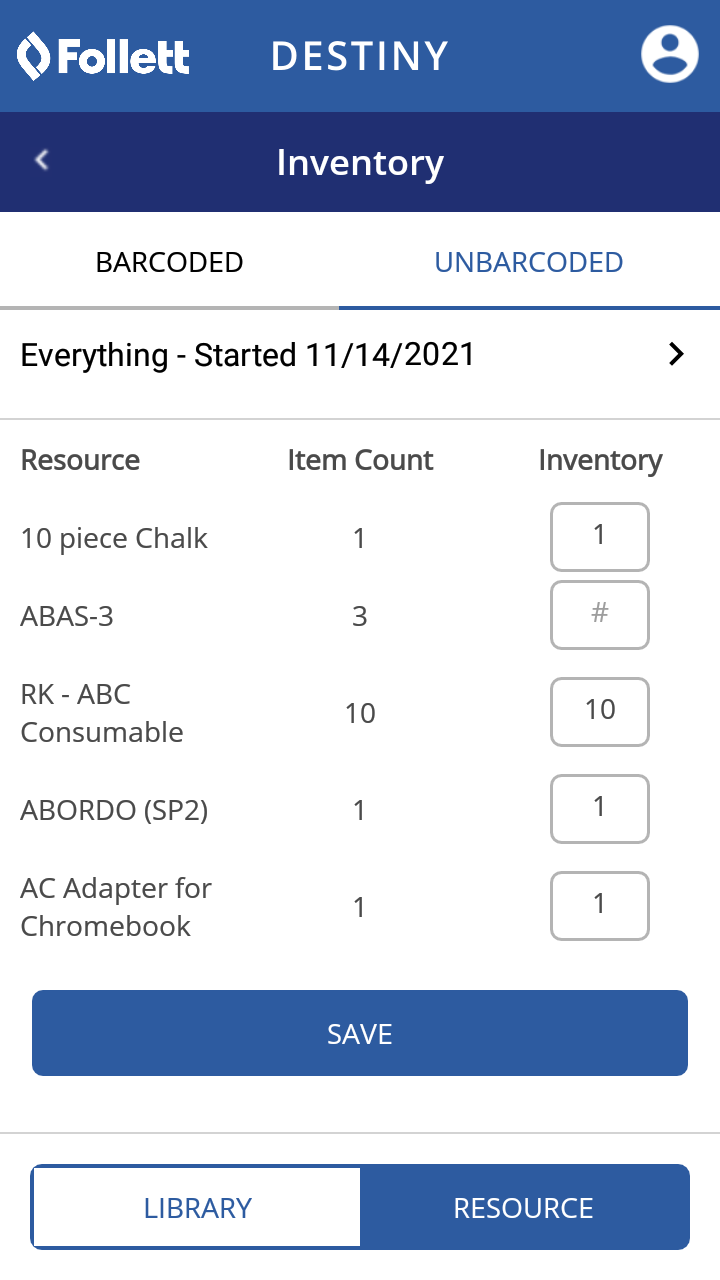
- For unbarcoded resources, tap UNBARCODED.
- Tap the Inventory field next to the resource(s) you want to count, and then type the number(s).
- Tap Location, and select an area the resource is associated with.
- Conduct a library inventory:
- Tap SAVE.
To finalize an inventory:
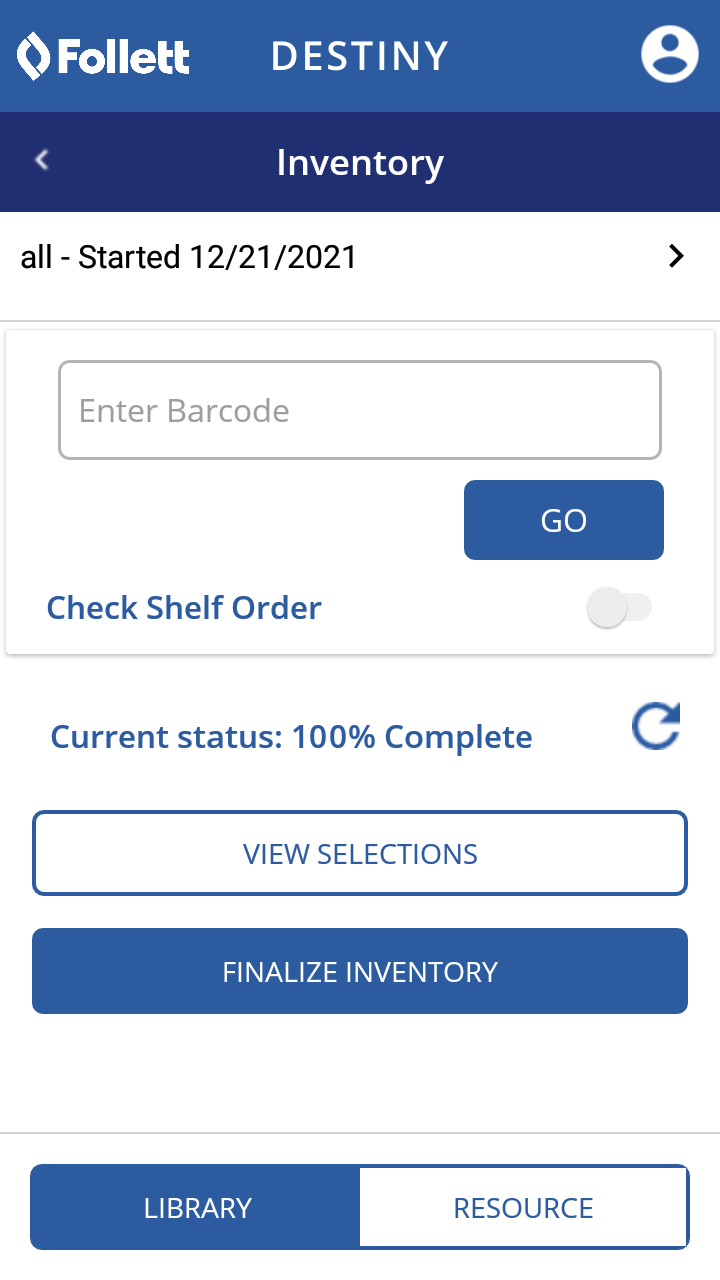
Check to confirm an inventory's status is close to 100 percent before finalizing it.
- Tap Inventory.
- Tap the Destiny product you are using: LIBRARY or RESOURCE.
- If the inventory you want does not appear, tap the name of the last inventory taken at the top of the screen, and then select the inventory you want to close.
- Tap FINALIZE INVENTORY.
Transfers
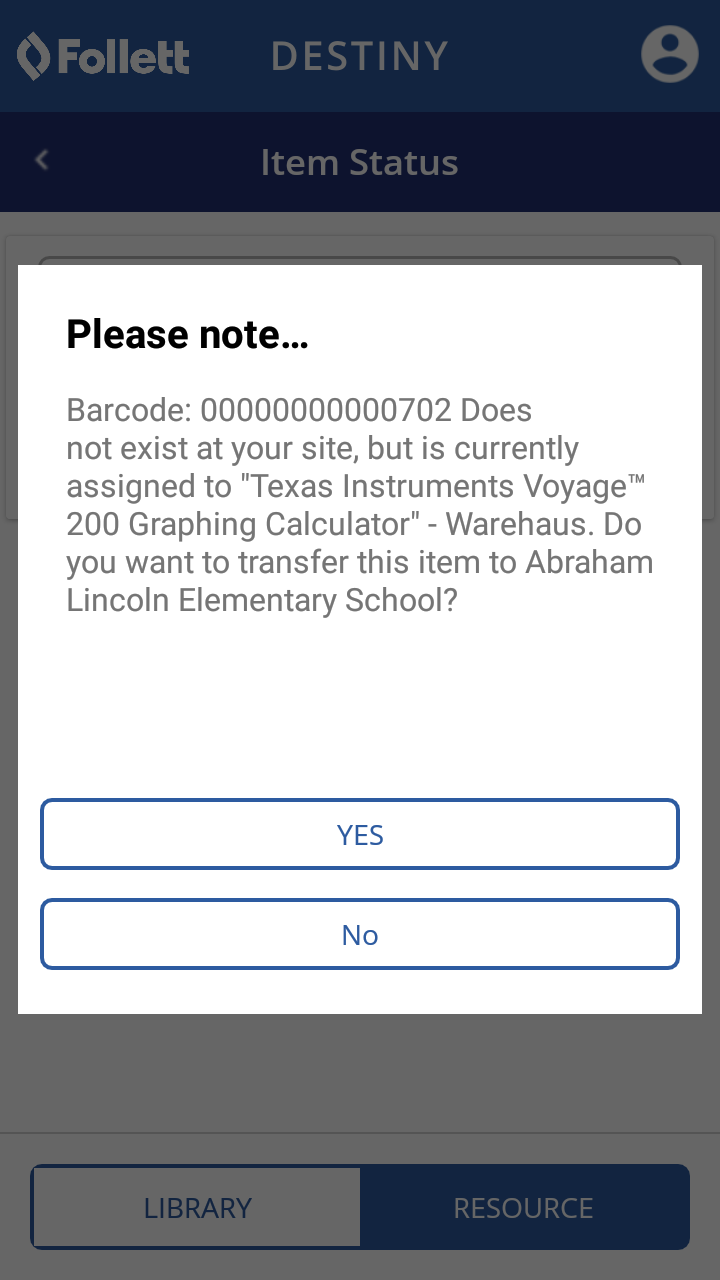
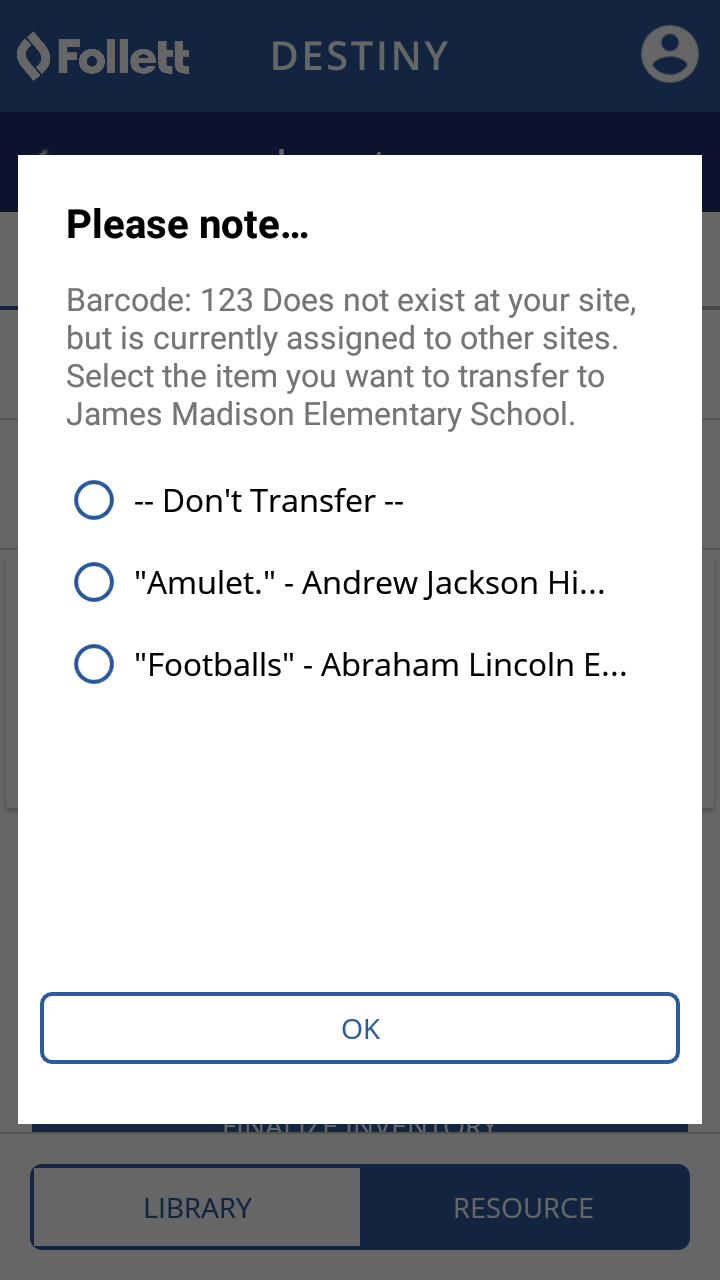
In Resource Manager, an in-hand transfer is when an item from another site in your district is scanned at your site, and then transferred to your site. For example, a student returns a book that is scanned at your site, but it is currently assigned to another site in the district.
|
Important: If in-hand transfers are enabled, the system displays an in-hand transfer message for an item that exists at a single site or multiple sites. |
|
|
You can scan or manually enter a barcode number. If alerts have been configured, an alert sounds each time you scan a barcode (whether successfully or unsuccessfully).
|
Notes:
|
To perform an in-hand transfer:
- Tap Check Out Check In, Item Status, or Inventory.
- Tap the Destiny product: RESOURCE.
- In the Barcode field, enter or scan the barcode. If you type the barcode number, tap GO.
- Tap YES (for items existing at a single site), or select the item you want to transfer and then tap OK (for items existing at multiple sites).
To initiate or transfer a warehouse order shipment:
Begin a warehouse shipment from the Destiny Back Office app on your VersaScan, Android, or iOS device.
Use eSignatures
eSignatures provide accountability without slowing down shipping. You can request signatures for shipping steps, without preventing the resource from being delayed if the signature is not provided.
In Destiny, when a sending site uploads resource transfers or the warehouse adds a resource order shipment, the user can choose to track eSignatures for the transfer every step of the way. As resources are sent and received, users can add signatures and comments using
| Note: You can only add eSignature notes with the Follett Destiny VersaScan or the Destiny Back Office app. |
To manage a transfer or an order and make sure that it gets to the right place, use an eSignature on the Signature/Note screen.
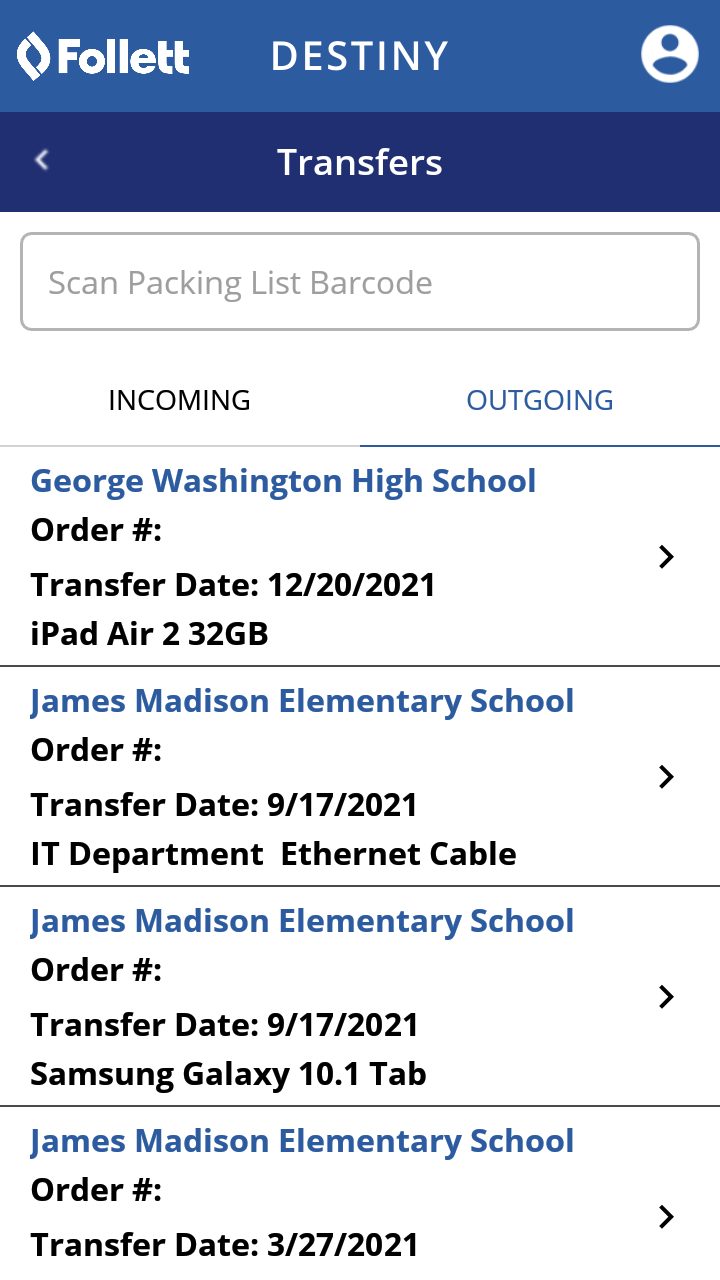
- Tap Transfers.
- Tap the transfer list you want to view: INCOMING or OUTGOING.
- Scan the packing list barcode or from the transfers list, tap the order you want to sign off on.
- To return to the previous screen, in the top-left-corner, tap <.
- Tap SIGN, and then have the person write/enter their eSignature on the Signature/Note screen.
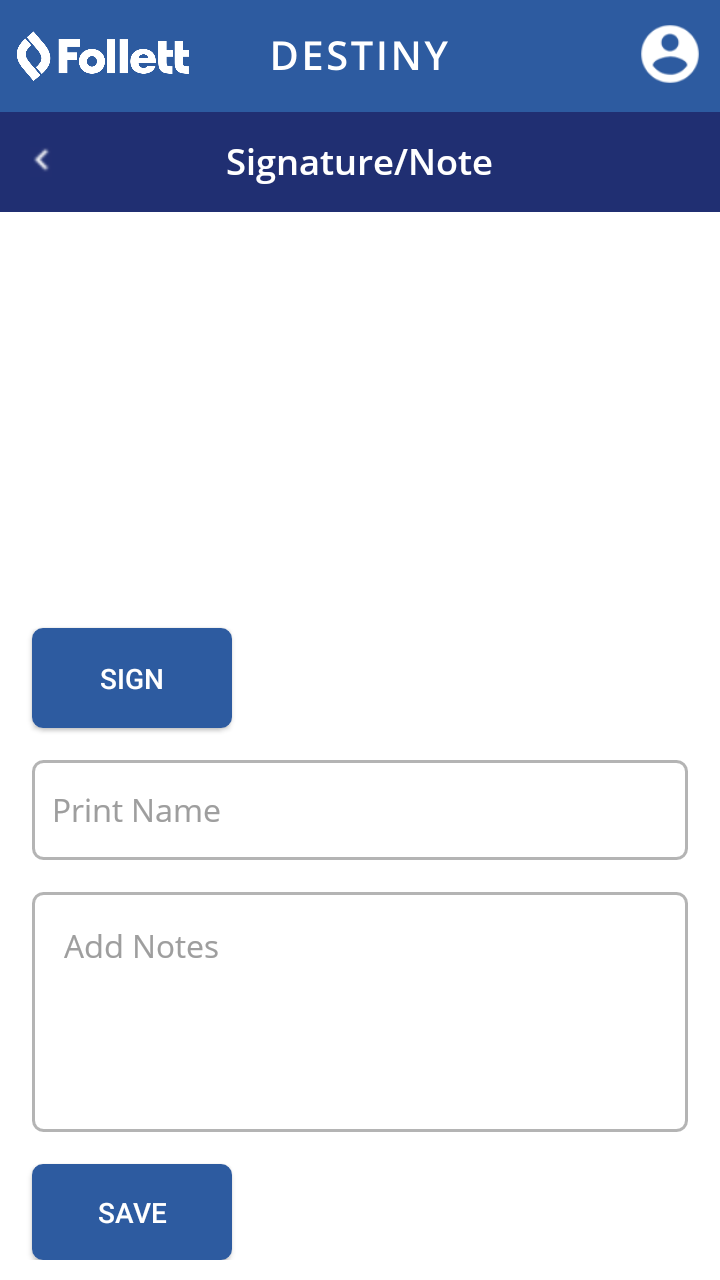
To re-enter the signature, tap CLEAR, and then write/enter the eSignature again.
- Tap SAVE.
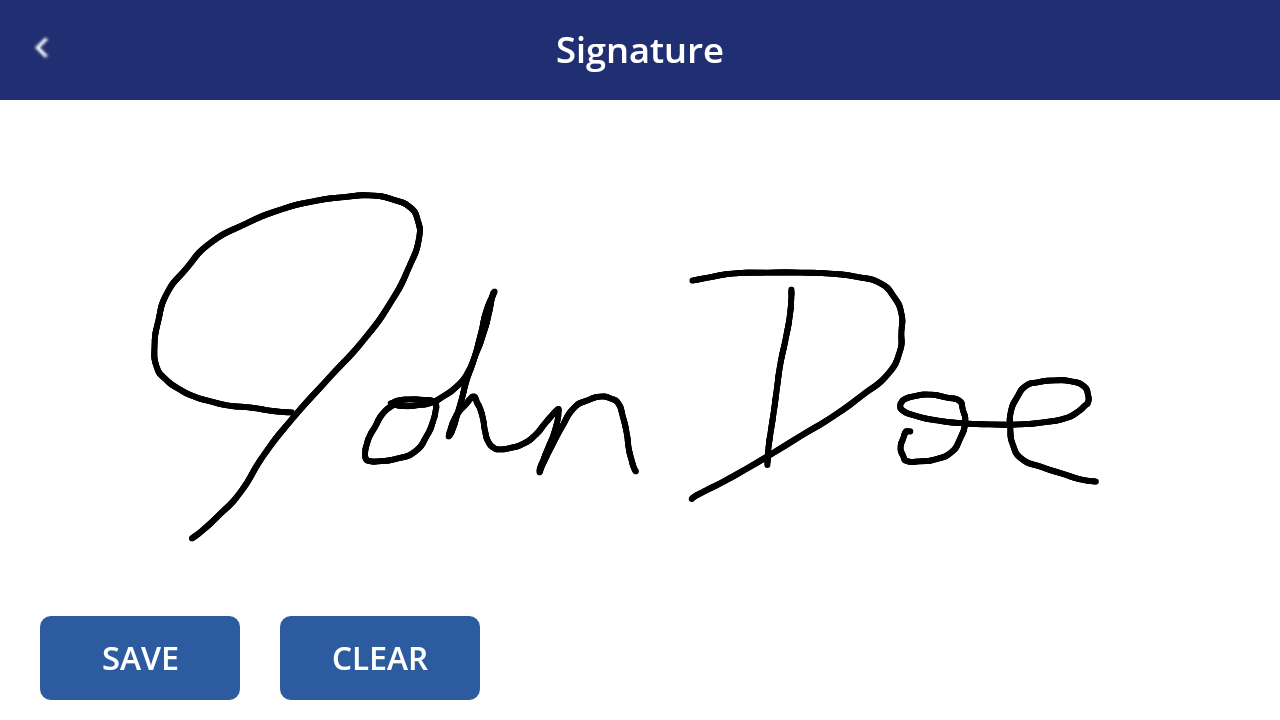
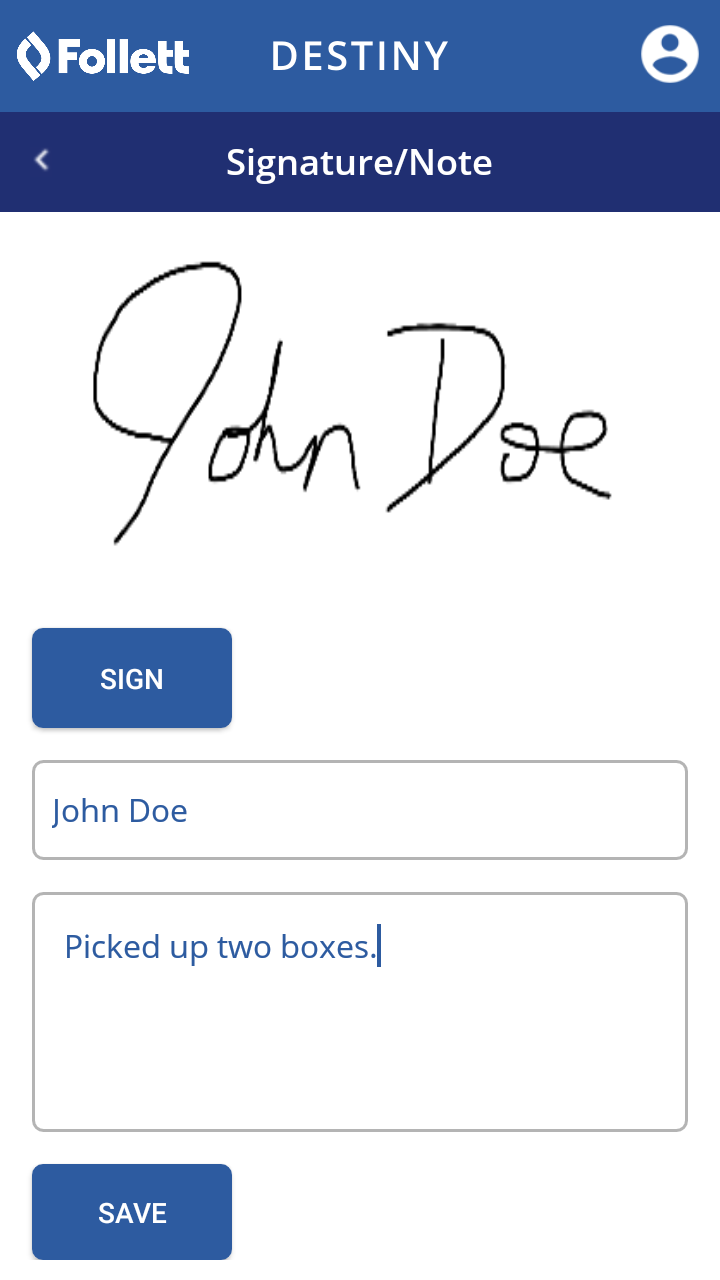
- Tap in the Print Name field, and then type the name of the person managing the order.
- Tap in the Add Notes field, and then enter related notes.
Note: On the Signature/Note screen, you can add a note to track either a transfer or an order. - Tap SAVE.
Set Up and Use the Follett Destiny Back Office App Quick Reference Guide PDF